Built from a piece of timber found under the house at the property.

 This project began its life after a long day of installing floating flooring for a friend. We were talking about the flooring project at hand
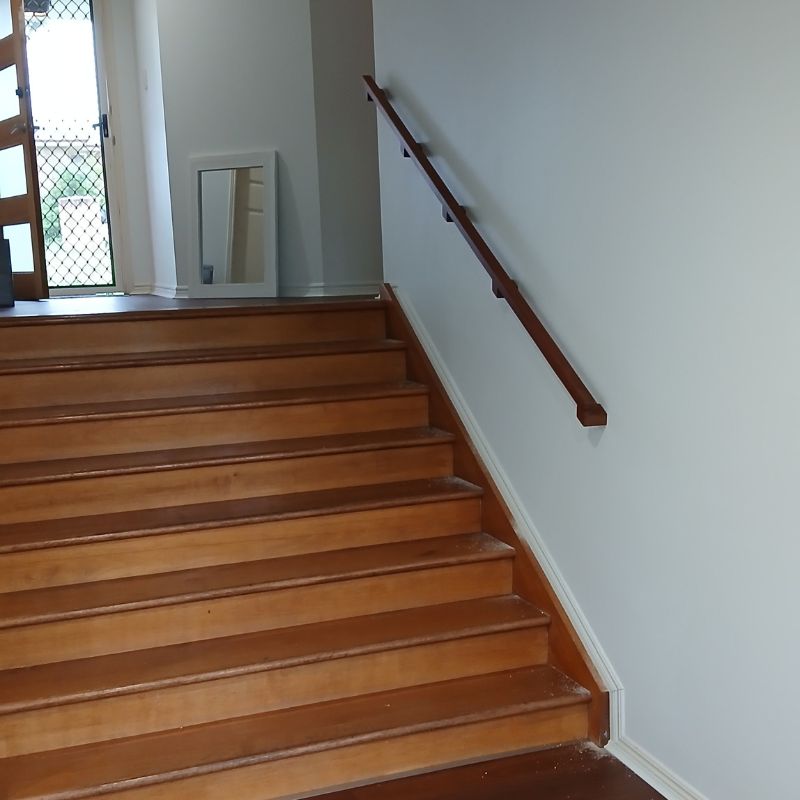
when the conversation somehow turned into the handrail, or lack there of, for the stairs near the front door.
This project began its life after a long day of installing floating flooring for a friend. We were talking about the flooring project at hand
when the conversation somehow turned into the handrail, or lack there of, for the stairs near the front door.
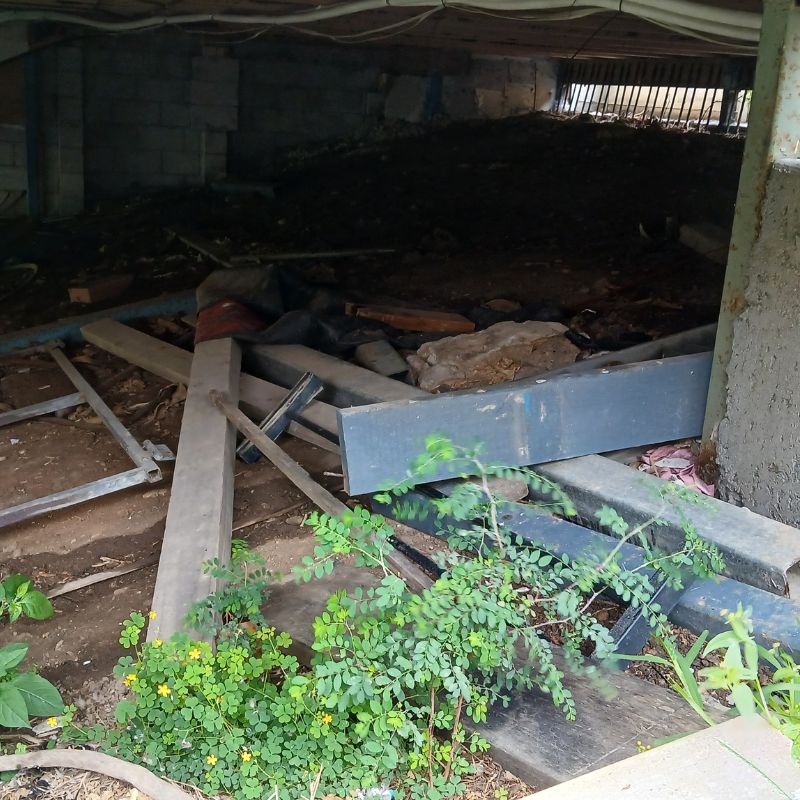
I knew there were a heap of leftover pieces of timber and metal scraps from various other projects over the years at the property. I
decided to have a look underneath the house to see if I could find anything that I could turn into a handrail for him.
Straight away I saw a nice piece which I assume was an old fence post. It was heavy enough to be good solid hardwood, and had enough length and widths
to complete the job. It didn't appear to have ever been buried or seen concrete, it was just a bit rough at the ends. But still good enough!
I took it home investigate further and run it over the machines to clean it up. It turned into a lovely deep red, which I suspected to be Jarrah species.
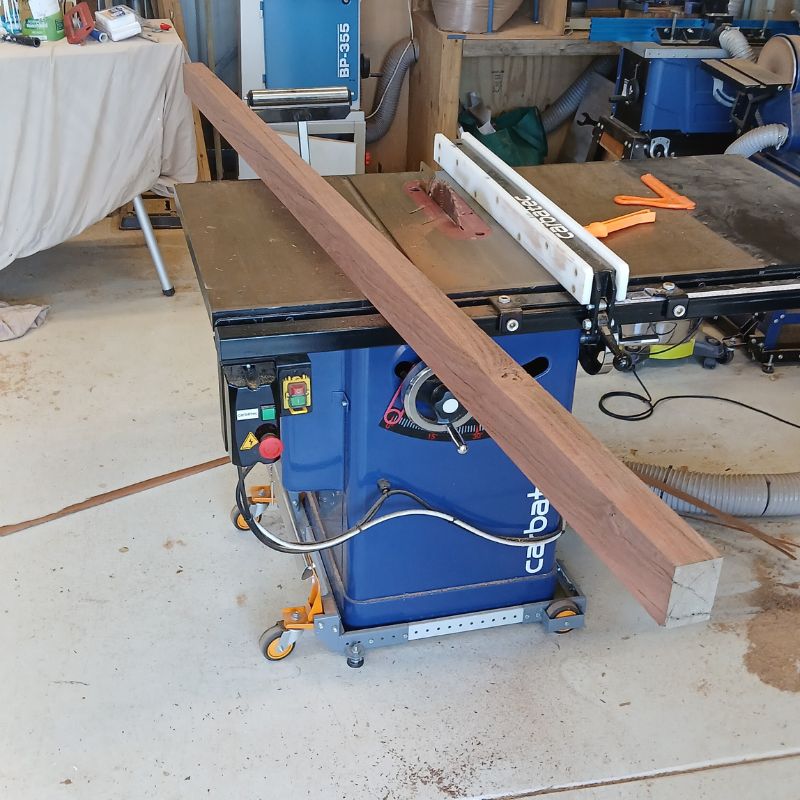 I drew a quick drawing in SketchUp to show my basic design and presented this to my friend, along with an image of the cleaned up timber.
He gave me the thumbs up to proceed with the build.
But before I could get too far into the design I had to know one crucial thing.
How am I going to attach this securely to the wall?
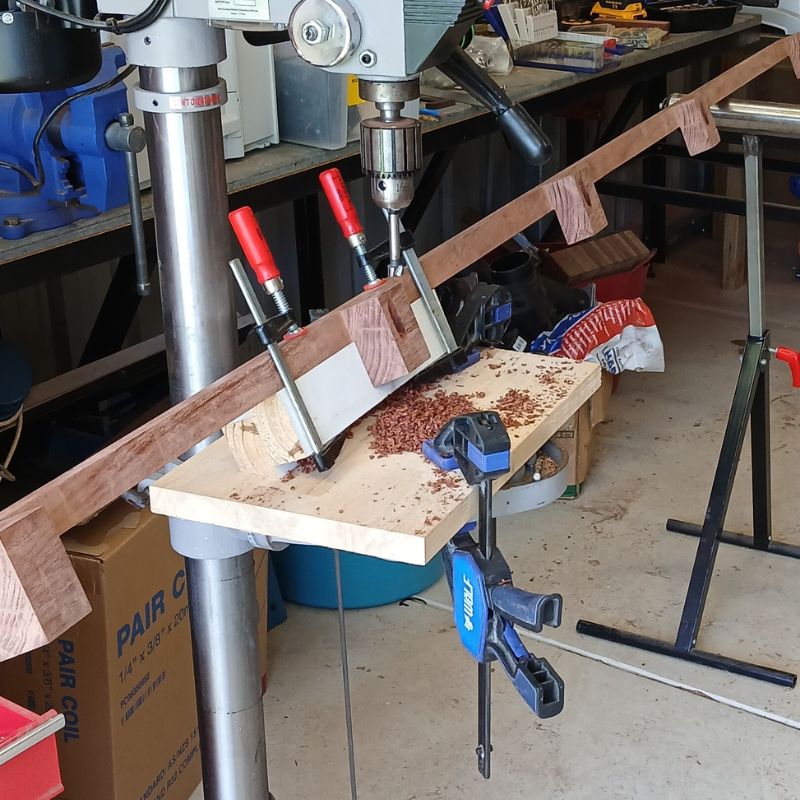
On my next visit to his house I came prepared with a 2.4m long straight edge and my trusty stud finder.
With a combination of using the stud finder and the straight edge to make sure of the correct slope the handrail would need. I was able to
determine the exact final length of the handrail. As well as the measurements and placement of each wall stud in relation to the handrail.
With this information gathered I could now start the detailed design.
 The handrail will use 5 large coach screws securing it into the studs of the house framework.
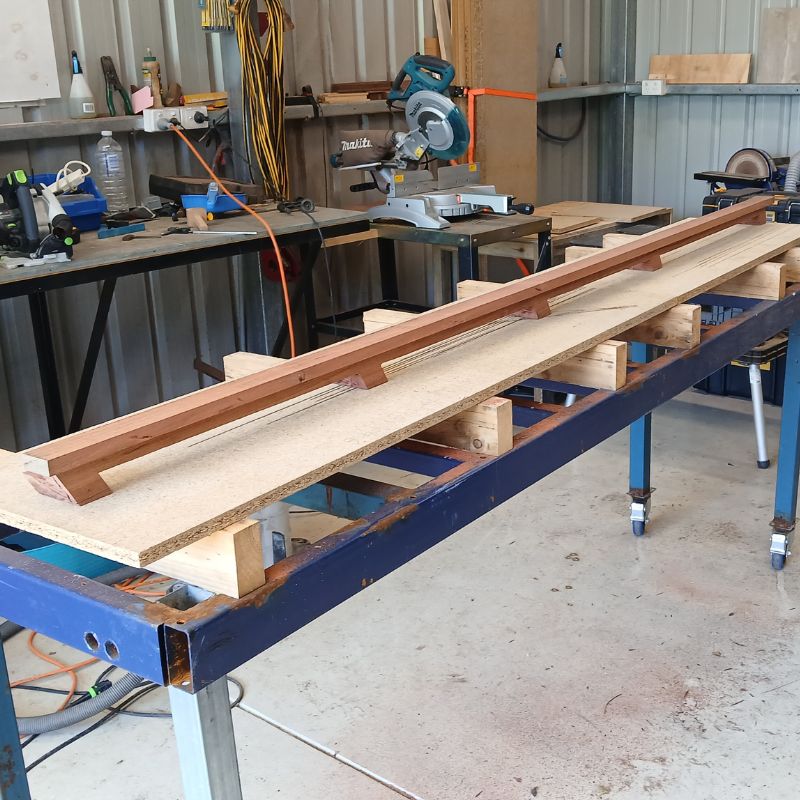
For a truly unique touch. I will build the rail out of just 2 pieces, top and bottom, both cut from the same fence post timber,
then attach them together.
This decision brings a whole new level of difficulty to the challenge.
Now instead of designing brackets or mounts of some sort, and positioning where the studs will be. I have to instead remove the unwanted wood
from the rail leaving the mounts in perfect place to marry up to the stud measurements I had previously taken.
Although this brings a lot more work, and risk into the project. I knew it would be worth it to have the mounts and the rail be the same solid
piece of wood.
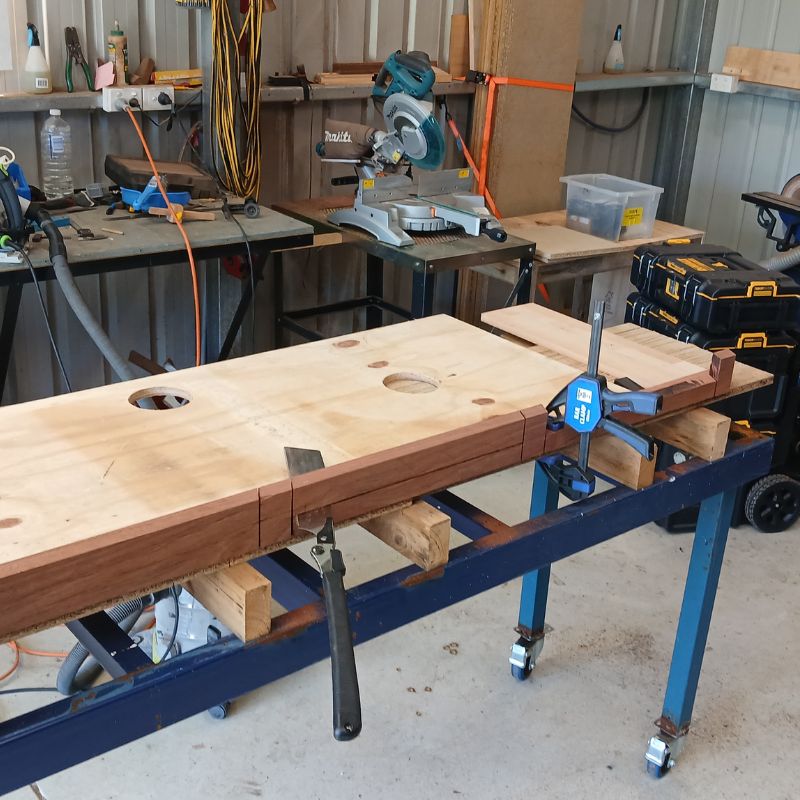
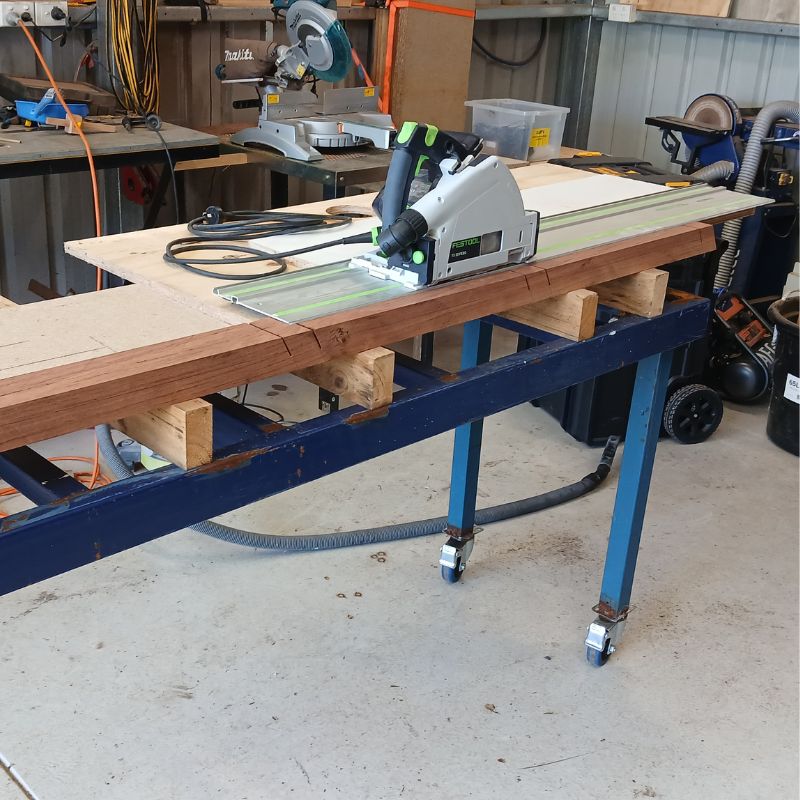
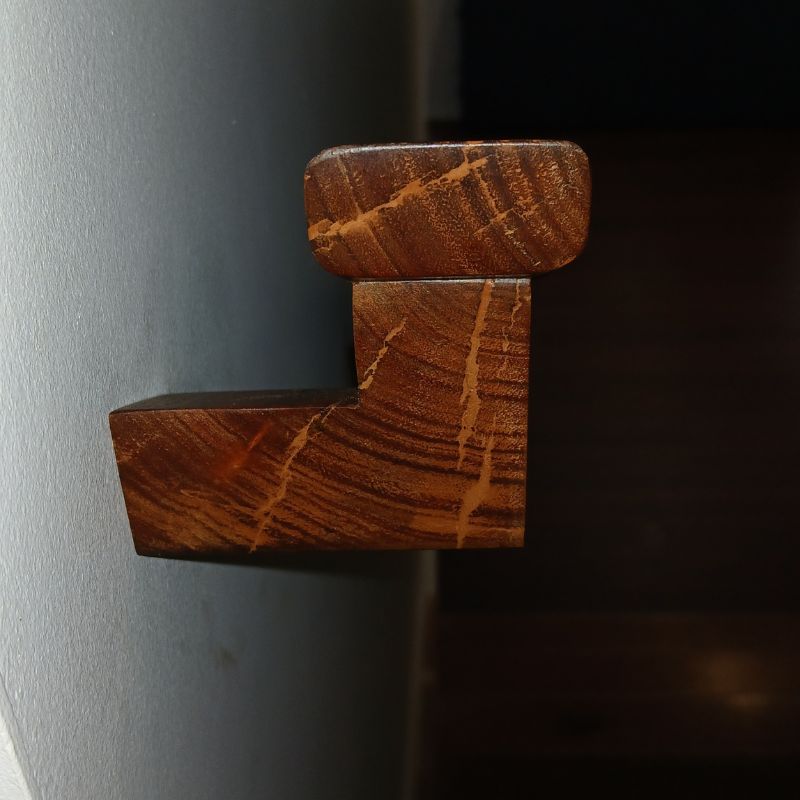 After many hours of meticulous measuring and cutting using everything from power tools to hand saws, from chisels to knives. I had the main
piece built, or perhaps a better word would be stripped. Stripped of well over half of the timber that it previously was.
After many hours of meticulous measuring and cutting using everything from power tools to hand saws, from chisels to knives. I had the main
piece built, or perhaps a better word would be stripped. Stripped of well over half of the timber that it previously was.
The top piece which was to thicken and add comfort to the grip, also to help strengthen the handrail was just a quick few passes on the
router table to become ready for attachment.
But before that could happen I needed to drill the mounting holes for the big coach screws.
I put a lot of thought into where the coach screws will sit within the mounts. The easiest and strongest way would be to go through the front
of the mounts, but that would leave them visible which I didn't fancy much.
The best thing would be to have the coach screws hidden from view, while maintaining full strength to the handrail.
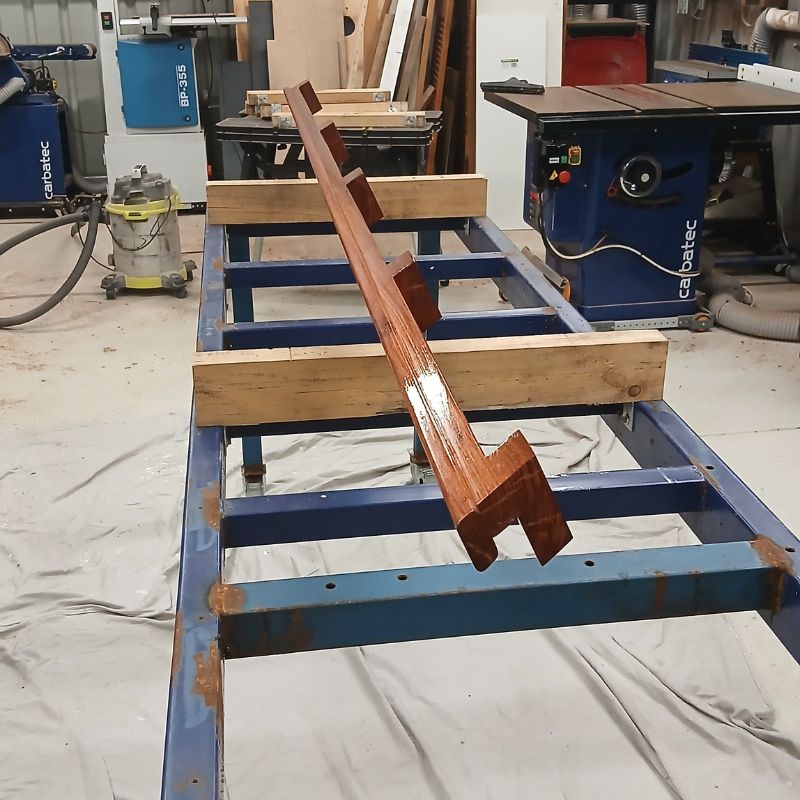
 To achieve this best outcome I used a pocket hole style through hole for the coach screw. But in doing this, the screw head will not be capturing
and compressing the entire mount into the wall stud. Thus weakening the overall mount.
To achieve this best outcome I used a pocket hole style through hole for the coach screw. But in doing this, the screw head will not be capturing
and compressing the entire mount into the wall stud. Thus weakening the overall mount.
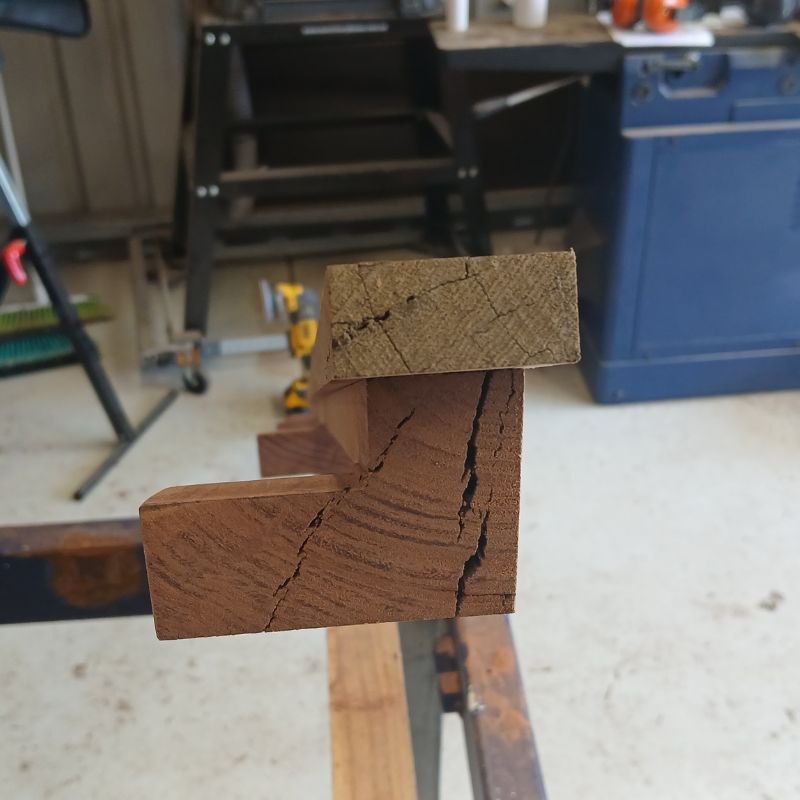
To make up for the lost strength, and to help oppose the downward forces that are now not captured by the coach screw, which is especially
important at the ends where the timber has many cracks and weaknesses.
I added 2 completely hidden screws in each mount opposing the direction of the coach screws. Basically coming outwards from the wall to add
back some compressive strength I had lost by making the coach screws hidden.
Now all that remained was to glue the top piece down. Glue, strengthen and fill every crack and imperfection that this old timber came with. Then sand and finish with a flooring rated Hardwax oil.
The final installation went off without a hitch, all pocket holes and coach screws perfectly lining up to the house studs to leave a very strong,
yet sleek and unique handrail for the extremely happy friend of mine.
The Jarrah timber with the clear Hardwax oil went really well with the new Jarrah coloured flooring which has just been installed at the
property. Next step is to work on the stairs and give them a new breath of life with a sanding and possible darker stain or oil.
(yes I did clean up the mess I left on the stairs shown in the first image)